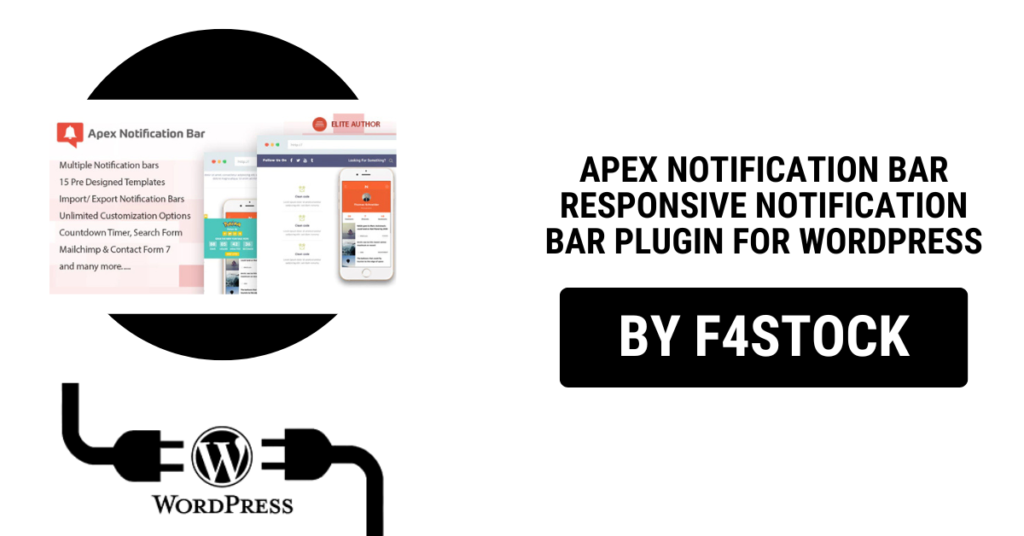
If you are looking to improve the communication on your WordPress website, enhance user engagement, or drive attention to key content, the Apex Notification Bar plugin might be just what you need. In this review, we’ll dive deep into why Apex Notification Bar stands out as one of the best plugins for creating eye-catching and responsive notifications on WordPress websites.
What is Apex Notification Bar?
Apex Notification Bar is a WordPress plugin designed to display notifications, alerts, or announcements in a highly visible bar across the top or bottom of your website. It’s a great tool for drawing attention to important messages like promotions, updates, events, or anything else you need to highlight for your audience. The plugin is fully responsive, meaning your notification bar will look great on both desktop and mobile devices, ensuring maximum reach.
Key Features of Apex Notification Bar
- Fully Responsive Design
Apex Notification Bar is designed to adapt seamlessly to any screen size. Whether your users are browsing your site on a desktop, tablet, or smartphone, the notification bar adjusts perfectly to maintain a consistent user experience. - Customizable Appearance
Customization is at the heart of Apex Notification Bar. The plugin allows you to change colors, fonts, positions, and more. You can choose from a variety of styles and layouts, or create your own unique notification design to match your brand’s aesthetics. - Multiple Notification Types
With Apex Notification Bar, you aren’t limited to just text-based notifications. You can also include images, videos, or call-to-action buttons. This flexibility allows you to create rich, interactive alerts that grab the attention of your visitors and boost conversions. - Advanced Display Options
Apex offers a wide range of display options. You can choose to show the notification bar on specific pages or posts, or even target specific user segments based on their behavior, such as showing a special offer to returning visitors or first-time users. - Customizable Close Button
The plugin includes an easy-to-use close button that allows users to dismiss the notification once they’ve seen it. You can even customize the design of the close button to fit the overall look and feel of your site. - Easy Setup and Integration
Setting up Apex Notification Bar is a breeze, even for beginners. The plugin integrates smoothly with your WordPress site, and the user-friendly interface makes it easy to create and manage notifications without requiring any coding knowledge. - Scheduled Notifications
With Apex, you can set up scheduled notifications that automatically appear and disappear based on specific dates and times. This feature is ideal for time-sensitive promotions, announcements, or events. - Support for Multiple Notification Bars
If you have several important messages or promotions, you can display more than one notification bar simultaneously. This feature ensures you can highlight multiple key messages without overwhelming your visitors.
Why Choose Apex Notification Bar?
- Boost User Engagement
Whether you’re announcing a sale, an event, or simply sharing a critical update, notifications grab the user’s attention instantly. Apex Notification Bar makes it easy to create eye-catching messages that encourage users to interact with your site and take action. - Increase Conversion Rates
One of the most powerful benefits of using a notification bar is the ability to push calls to action (CTAs) directly to your audience. Whether it’s a sign-up form, a special offer, or a new blog post, you can place a highly visible CTA right in front of your users, increasing the likelihood of conversion. - Improved User Experience
Apex Notification Bar is designed with user experience in mind. The plugin ensures that notifications don’t obstruct content or disrupt the site’s design. Visitors can easily dismiss the notifications, keeping their experience seamless and positive. - SEO-Friendly
Apex Notification Bar doesn’t just help with engagement, but it’s also SEO-friendly. Since the notifications are fully integrated into the website’s code, they won’t negatively affect your site’s SEO rankings. Additionally, by delivering targeted messages to users, you can drive more relevant traffic to your site. - Multiple Use Cases
This plugin can be used for a variety of purposes:- Promotional Offers: Announce discounts, sales, or special offers.
- Important Updates: Keep your audience informed with site-wide or product-specific updates.
- Event Notifications: Alert visitors about upcoming events or deadlines.
- Urgent Alerts: Share urgent announcements, like service disruptions or maintenance.
Pros and Cons of Apex Notification Bar
Pros:
- Highly customizable in terms of design, colors, and layout.
- Mobile responsive, ensuring the notifications look great on all devices.
- Supports rich media, including images, videos, and buttons.
- Easy to use, with a user-friendly interface and no coding required.
- Advanced targeting to display notifications based on user actions or behaviors.
- Scheduled notifications for time-sensitive announcements.
Cons:
- Free Version Limitations: While there is a free version of the plugin, it has fewer features and customization options compared to the premium version.
- Can be Distracting: If overused, the notification bar might distract users, especially if the site has too many notifications active at once.
How to Install Apex Notification Bar
Installing the Apex Notification Bar plugin is simple:
- Go to your WordPress dashboard.
- Navigate to Plugins > Add New.
- Search for “Apex Notification Bar.”
- Click Install and then Activate.
- Once activated, you can begin creating your notification bars from the plugin’s settings page.


